How long to cook tri tip in oven: at 425°F, a 1½- to 2-pound roast usually needs about 30 to 50 minutes, while a 2- to 3-pound roast usually needs about 40 to 60 minutes. Start checking at the low end of the range. The roast is ready only when a thermometer confirms the temperature in its thickest part; for food safety, whole beef roasts should reach at least 145°F and then rest for at least 3 minutes.
Tri-tip has a thick center and tapered ends, so minutes per pound are only a planning tool. Its starting temperature, thickness, pan, and oven can all change the finish time. A thermometer gives you the answer the clock cannot.
How Long to Cook Tri Tip in Oven at 425°F
| Tri-tip weight | Start checking | Typical roasting window | Safe endpoint |
|---|---|---|---|
| 1½–2 pounds | 30 minutes | About 30–50 minutes | 145°F final temperature plus at least a 3-minute rest |
| 2–3 pounds | 40 minutes | About 40–60 minutes | 145°F final temperature plus at least a 3-minute rest |
| Irregular, unusually thick, or partly frozen | Use the matching weight row | May take longer | Let the thermometer decide |
These ranges combine the 425°F tri-tip timetable published by Beef. It’s What’s For Dinner: 30–40 minutes for a 1½- to 2-pound roast at its lower doneness target and 40–50 minutes at its higher target; for 2–3 pounds, the listed ranges are 40–50 and 50–60 minutes. The wider windows above are more useful at home because they tell you when to begin checking without promising that every roast will finish at the same minute.
The USDA safe-temperature chart sets the safety floor for beef steaks, chops, and roasts at 145°F followed by at least a 3-minute rest. If you remove the roast below 145°F in anticipation of carryover heat, verify that it actually reaches 145°F during the rest. Carryover varies, so it should not be assumed.
Simple Oven-Roasted Tri-Tip
What you need
- 1 tri-tip roast, about 1½ to 3 pounds, fully thawed
- 1 tablespoon olive oil
- 1½ teaspoons kosher salt
- 1 teaspoon black pepper
- 1 teaspoon garlic powder
- ½ teaspoon onion powder
- ½ teaspoon smoked paprika, optional
- Rimmed sheet pan or shallow roasting pan
- Wire rack that fits the pan, optional
- Instant-read or oven-safe probe thermometer
Step-by-step method
- Heat the oven to 425°F. Put a rack in the center and allow the oven to preheat fully.
- Notice the grain before seasoning. The muscle fibers usually change direction partway through a tri-tip. Take a quick photo or make a mental note so you can slice each section correctly after cooking.
- Prepare the roast. Pat it dry. Remove loose silverskin and any thick, hard pieces of surface fat, but do not cut deeply into the meat.
- Season all sides. Rub with the oil, salt, pepper, garlic powder, onion powder, and optional smoked paprika.
- Set it in the pan. Place the roast fat-side up on a wire rack in a shallow pan. If you do not have a rack, put it directly in the rimmed pan. Do not add water or cover it.
- Roast and check early. Use the weight chart above. Insert the thermometer into the thickest central area, avoiding surface fat and the tapered end.
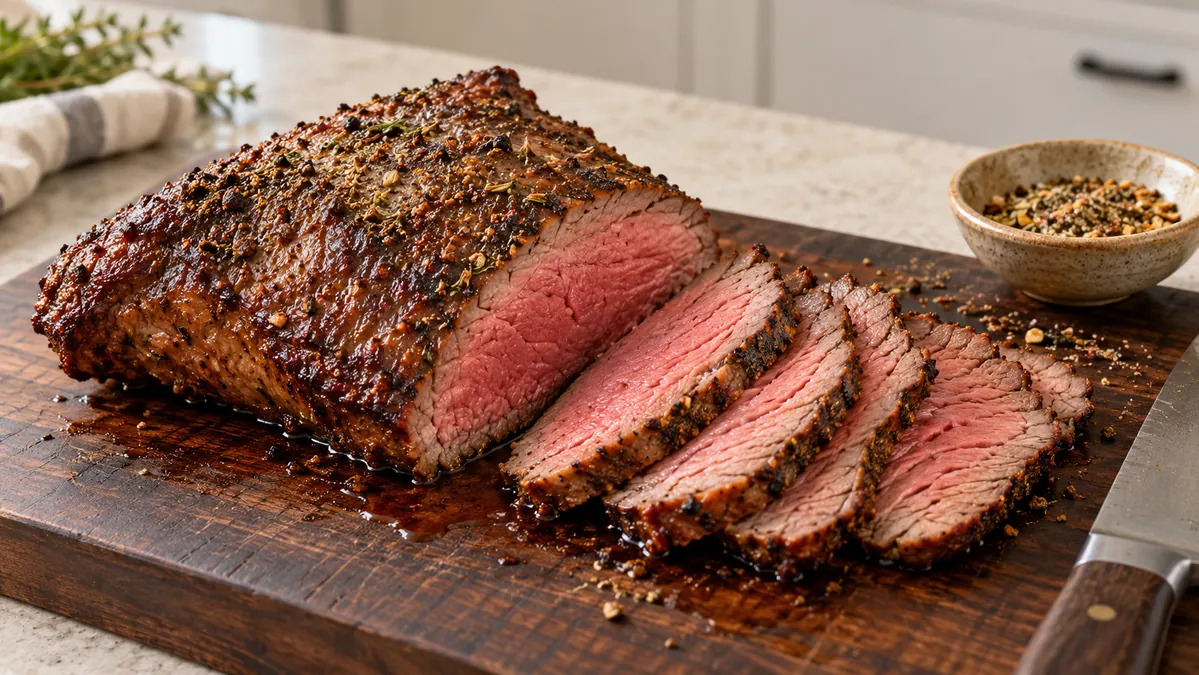
- Confirm the final temperature. Make sure the roast reaches at least 145°F, then rest it on a clean cutting board for at least 3 minutes. A 10-minute rest is practical for easier slicing.
- Slice against both grain directions. If the grain changes direction, divide the roast where it turns. Rotate each piece and cut thin slices across its own grain.
This method does not require a stovetop sear. The hot oven browns the exterior while keeping the process simple. If your pan is not broiler-safe, do not move it under the broiler for extra color.
Where to Put the Thermometer
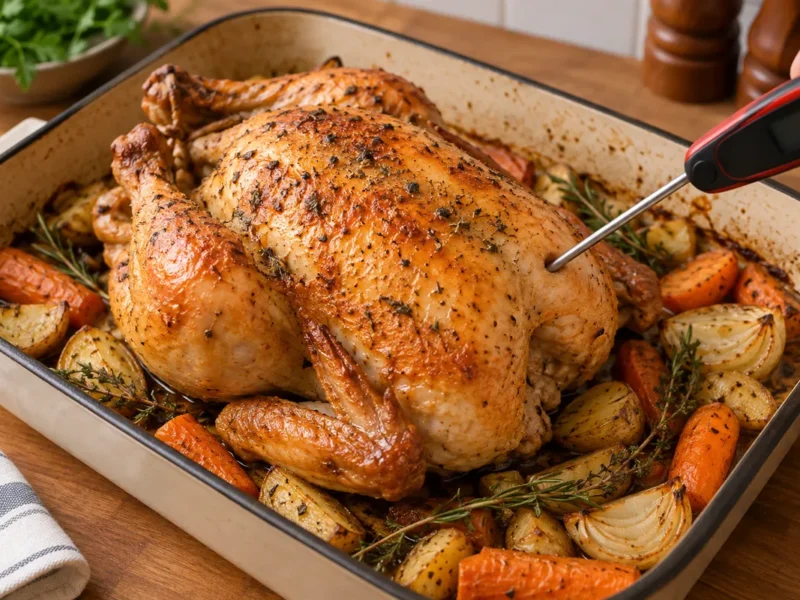
Insert the probe into the thickest part of the roast so the sensing area reaches the center. Avoid fat, gristle, and the thin pointed ends. The USDA’s thermometer guidance specifically recommends checking beef roasts midway into the thickest section.
Because tri-tip is an uneven triangle, check a second nearby spot before taking it out. Do not judge doneness by crust color, red juices, or how firm the meat feels. Those cues cannot confirm a safe center temperature.
Why Your Tri-Tip May Finish Earlier or Later
- Thickness matters more than weight alone. A compact roast with a thick center can take longer than a flatter roast of the same weight.
- A cold center slows cooking. Meat taken straight from a very cold refrigerator may need more time.
- Ovens cycle differently. The displayed temperature is not always the temperature around the pan.
- Pan material changes browning. A dark metal pan can brown the underside faster than a light pan.
- Opening the door loses heat. Check efficiently rather than repeatedly leaving the oven open.
If dinner timing matters, build in a cushion and use the chart to choose when to begin checking. Do not increase the oven temperature late in the cook just to match a deadline; the narrow ends can dry out before the thick center catches up.
How to Keep Tri-Tip Tender
Do not skip the rest
Move the roast to a clean board and let it stand before cutting. The USDA minimum rest is 3 minutes for safety at 145°F. Allowing about 10 minutes also makes the roast easier to slice without losing as much liquid on the board.
Cut across the changing grain
Tri-tip is unusual because the grain does not run in one direction from end to end. Look for where the fibers turn, split the roast there if needed, and slice each section across its grain. Thin, correctly oriented slices shorten the muscle fibers and feel more tender than slices cut with them.
Keep the tapered end in mind
The narrow tip will usually be more done than the thick center. That can be useful when people at the table prefer different levels of doneness. Check temperature in the thick section rather than sacrificing the center to make the tip match it.
Should You Sear Tri-Tip Before Roasting?
Searing is optional. It adds stovetop work and splatter but can deepen surface browning. A 425°F uncovered roast already develops a browned exterior, so beginners can use the one-pan method without losing the core result.
If you do sear first, use an oven-safe skillet, watch for oil splatter, and begin checking the internal temperature earlier because the roast enters the oven with a hotter surface. Do not reuse a plate or utensils that held raw beef unless they have been washed.
Can You Cook a Frozen Tri-Tip?
The USDA says frozen beef can be cooked in the oven, but it may take about 50% longer. For this recipe, thawing first gives you a more predictable timetable, more even seasoning, and easier thermometer placement.
The three safe thawing methods are the refrigerator, cold water in leakproof packaging with the water changed every 30 minutes, and the microwave. Beef thawed by cold water or microwave should be cooked immediately. Never thaw it on the counter. See the full USDA beef thawing guidance.
Common Tri-Tip Problems
The outside browned before the center was ready
Loosely shield the darkest area with foil and continue cooking until the thickest part reaches the safe endpoint. Next time, position the pan in the center of the oven and check whether the roast was unusually thick.
The roast was chewy
First check the slice direction. Even properly cooked tri-tip can feel tough when cut with the grain. Divide it where the fibers change direction and cut thinly across each section.
The thin end became dry
Some difference between the tip and center is normal. Avoid measuring temperature in the thin end. Serve it to anyone who prefers more-done beef, and reserve the thicker slices for those who prefer the center.
The roast is not done when the timer ends
Keep roasting and check again after a short interval. The chart is an estimate, while internal temperature is the deciding measurement.
Storing and Reheating Leftovers
Refrigerate sliced tri-tip within 2 hours of cooking, or within 1 hour when the surrounding temperature is above 90°F. Store it in a shallow, covered container. The USDA says cooked leftovers keep for 3 to 4 days in the refrigerator.
Reheat leftovers to 165°F. To reduce drying, warm sliced meat with a small splash of broth in a covered oven-safe dish, and heat only the portion you plan to eat. For guidance on raw beef storage before cooking, see our refrigerator guide for steak.
Frequently Asked Questions
How long does a 2-pound tri-tip take at 425°F?
Begin checking at 30 minutes. Published beef-industry guidance places a 1½- to 2-pound roast within roughly 30 to 50 minutes, depending on the doneness target. Confirm that the final center temperature reaches at least 145°F and rest it for at least 3 minutes.
How long does a 3-pound tri-tip take in the oven?
At 425°F, begin checking a 3-pound tri-tip around 40 minutes. A 2- to 3-pound roast can take roughly 40 to 60 minutes. Shape and starting temperature can move it outside that range, so finish by temperature.
Do you cover tri-tip in the oven?
No. Roast it uncovered so the exterior can brown. Covering traps steam and softens the surface. You can loosely tent it with foil while it rests.
Should the fat side face up or down?
Place the fat side up for this method. Trim only thick, hard surface fat or loose pieces. A completely trimmed roast will still cook, but it may brown and heat a little differently.
Can I roast tri-tip at 350°F instead?
Yes, but it will take longer and the 425°F time chart will no longer apply. Use a thermometer and begin checking based on a recipe developed for 350°F rather than converting the time by guesswork.
Is 135°F safe for tri-tip?
The USDA safe minimum for whole beef roasts is 145°F followed by at least a 3-minute rest. Some recipes tell cooks to remove a roast at 135°F because its temperature may rise while resting, but carryover is not guaranteed. Verify that the center actually reaches 145°F if you use an early pull temperature.
The Rule to Remember
At 425°F, plan on about 30 to 50 minutes for a 1½- to 2-pound tri-tip and 40 to 60 minutes for a 2- to 3-pound roast. Begin checking at the low end, measure in the thickest part, confirm a final temperature of at least 145°F, rest for at least 3 minutes, and slice each section against its grain.